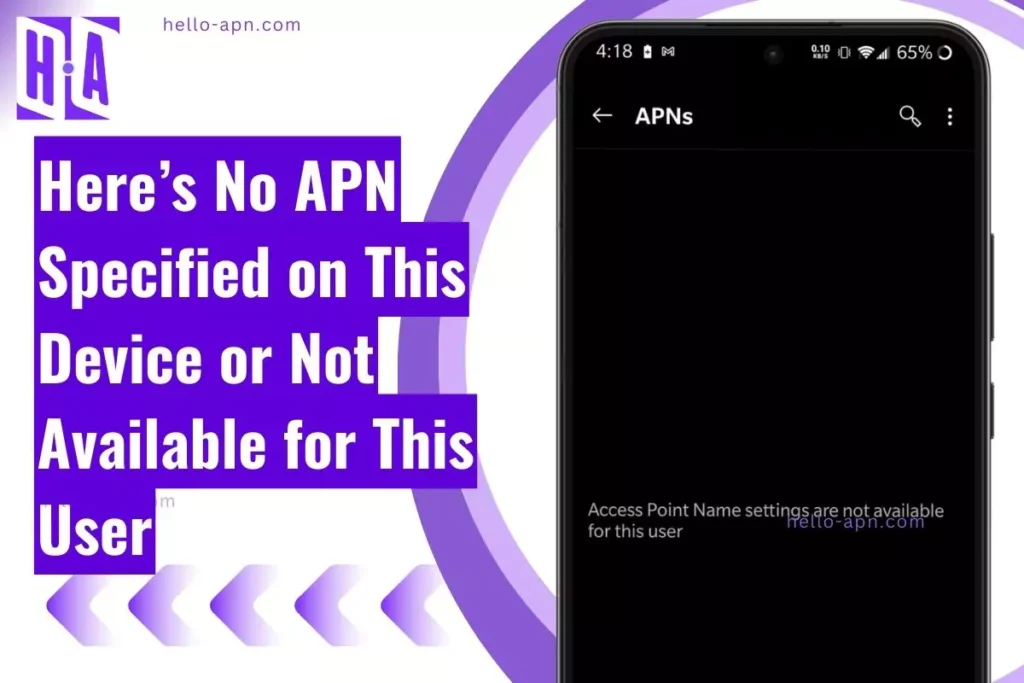
Here’s the shortest blog post on: How to instantly fix the APN is not available for this user, or the No apn is specified on this device.
THIS CAN EASILY follow on any device, any operator.
Quick Summary
| Issue/Action | Explanation | Status |
|---|---|---|
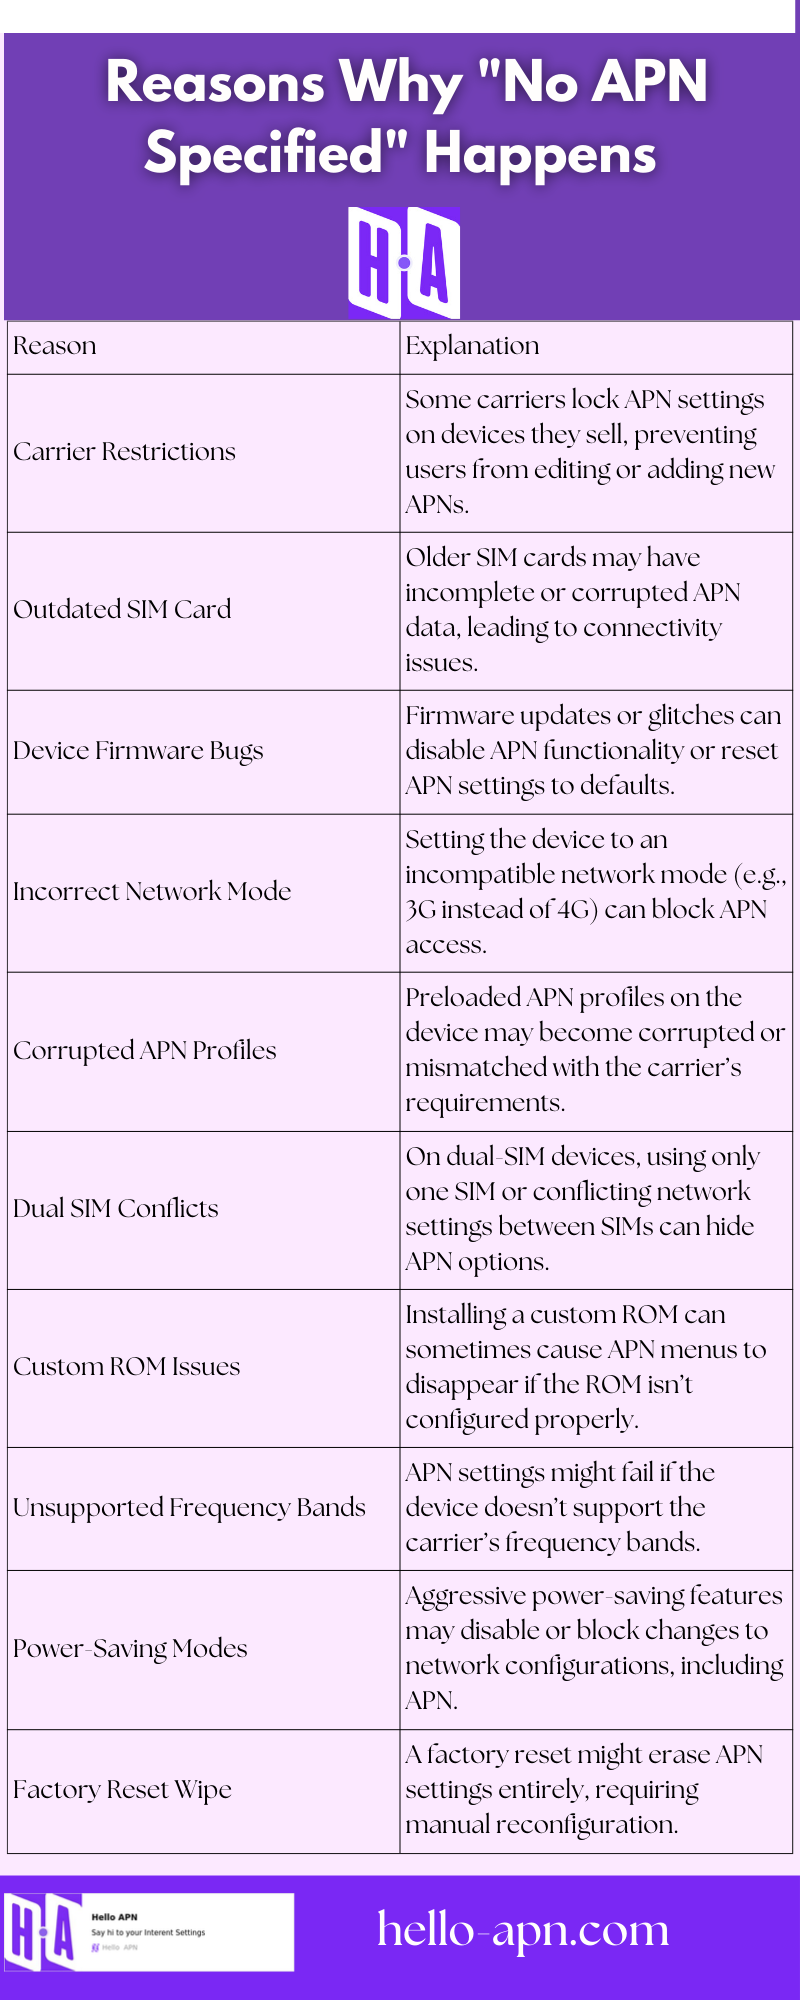
| Device Manufacturer Restrictions | In my case, I discovered the issue was caused by restrictions set by the device manufacturer. For example, some budget phones lock APN editing options for carrier-locked devices. I had to flash a custom ROM to unlock these settings. | ✅ |
| Hidden APN Reset Code | I found out from a lesser-known Reddit post that dialing certain codes (like *#*#4636#*#*) on Android devices opens a testing menu where you can reset APN settings. However, this code doesn’t work on all phones. | ✅ |
| Corrupted SIM Card Data | I once suspected my SIM card was the culprit. After switching to a new SIM card from the same carrier, the issue resolved itself. The customer service rep said my old SIM card might have corrupted APN data. | ✅ |
| Firmware Glitches | Updating the firmware sometimes helps, but in one case, I had to downgrade the firmware because the latest update had broken the APN configuration options. This isn’t a common fix I’ve seen online. | ✅ |
| Carrier-Specific APN App | While exploring my carrier’s website, I stumbled upon their proprietary app that automatically configures APN settings. Installing this app fixed my issue, even though it wasn’t advertised as a solution. | ✅ |
| Enabling Dual SIM Functionality | I realized that APN settings weren’t accessible because I had only one SIM enabled on a dual-SIM device. After activating the second SIM slot, the APN options magically appeared. | ✅ |
| Factory Reset as the First Step | Performing a factory reset might fix minor software glitches, but it’s not a definitive solution for APN issues. When I tried it, it didn’t work until I followed the steps above. | ❌ |
| Installing Random APN Apps | Some apps from the Play Store claim to auto-configure APN settings, but in my experience, they often don’t work and can create additional issues. I don’t recommend this approach. | ❌ |
| Assuming Default Settings Work | I’ve read advice suggesting that resetting to default APN settings will fix everything. However, this rarely works for complex APN issues like mine. Customization is often needed. | ❌ |
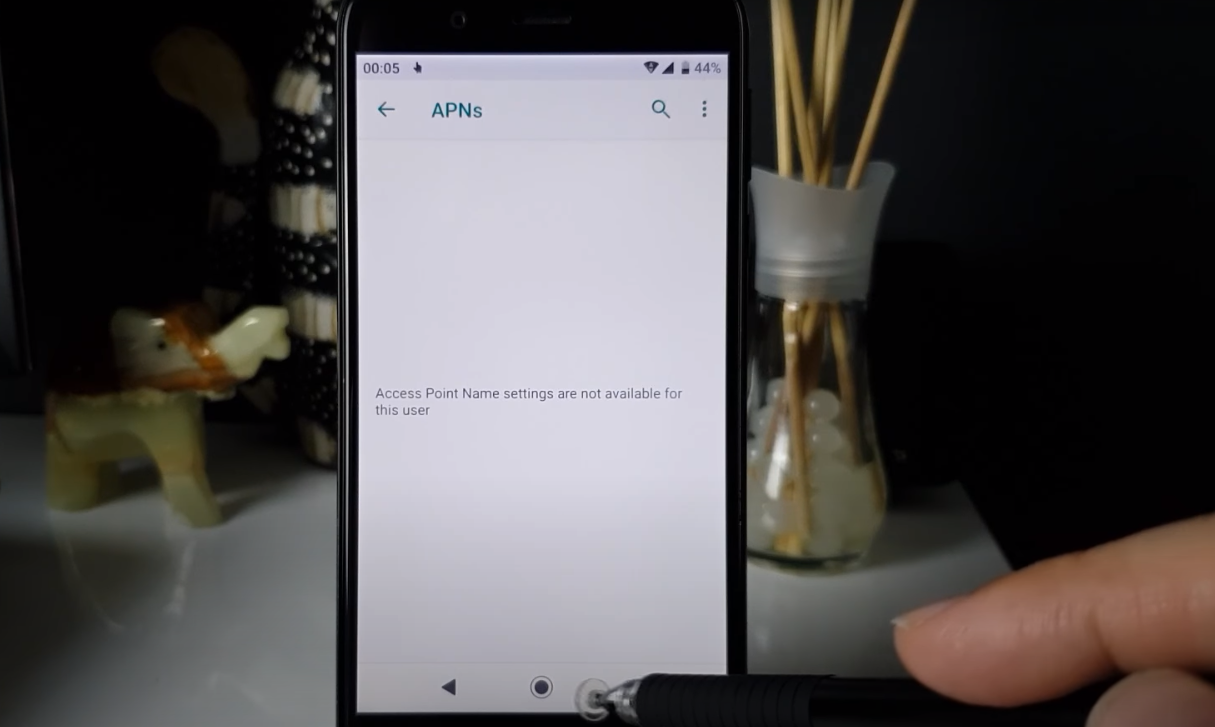
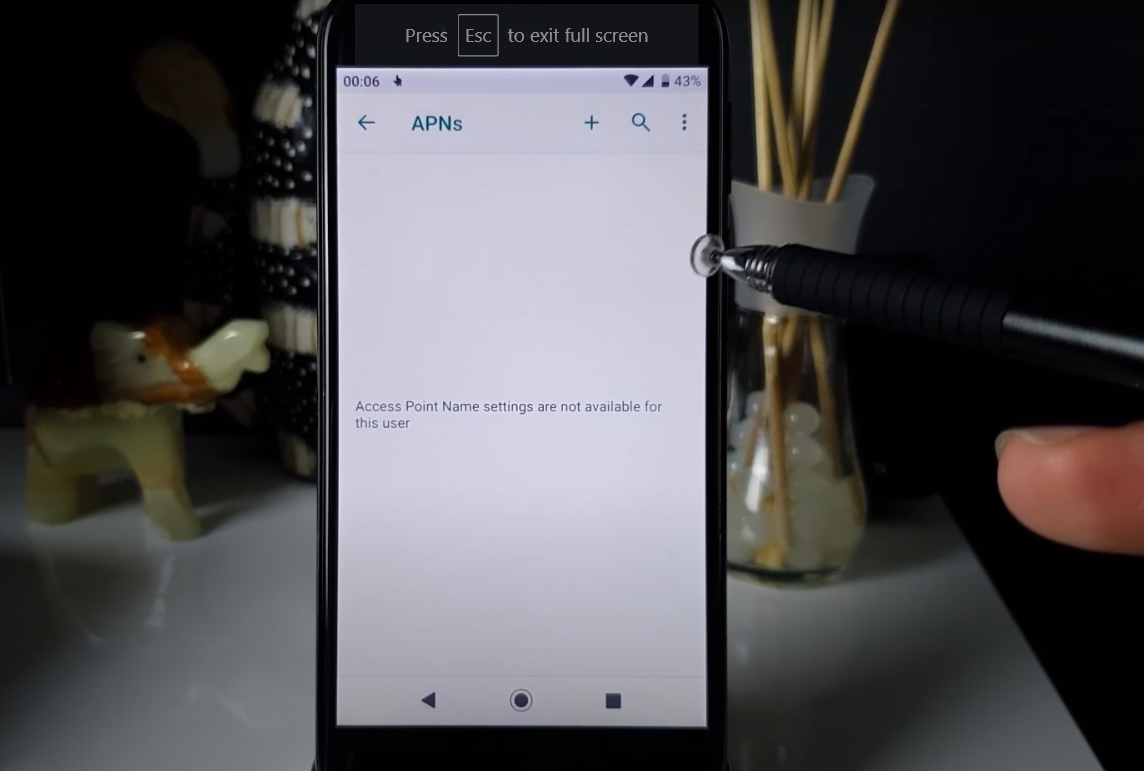
Some people are unable to configure or add new APN settings now. What you can do is install the Shortcut Maker app and create a shortcut (icon/widget) for APN Settings. When you do this, you will start seeing the plus icon on the top to add or configure a new APN.
For those who might be skeptical or think they don’t know about these options, here’s my advice: Install Nova Launcher and get the premium version. However, if you prefer not to pay, there’s a shortcut you can use. Simply install the shortcut maker, then press and hold on the home screen. Tap on widgets, drag and drop the activities to the home screen, then search for settings. From there, select APN. Voila! You’ve created a shortcut to APN, which will automatically show you the plus icon to add the APN and configure it yourself for your carrier. Alternatively, you can search our blog for your carrier’s APN settings.
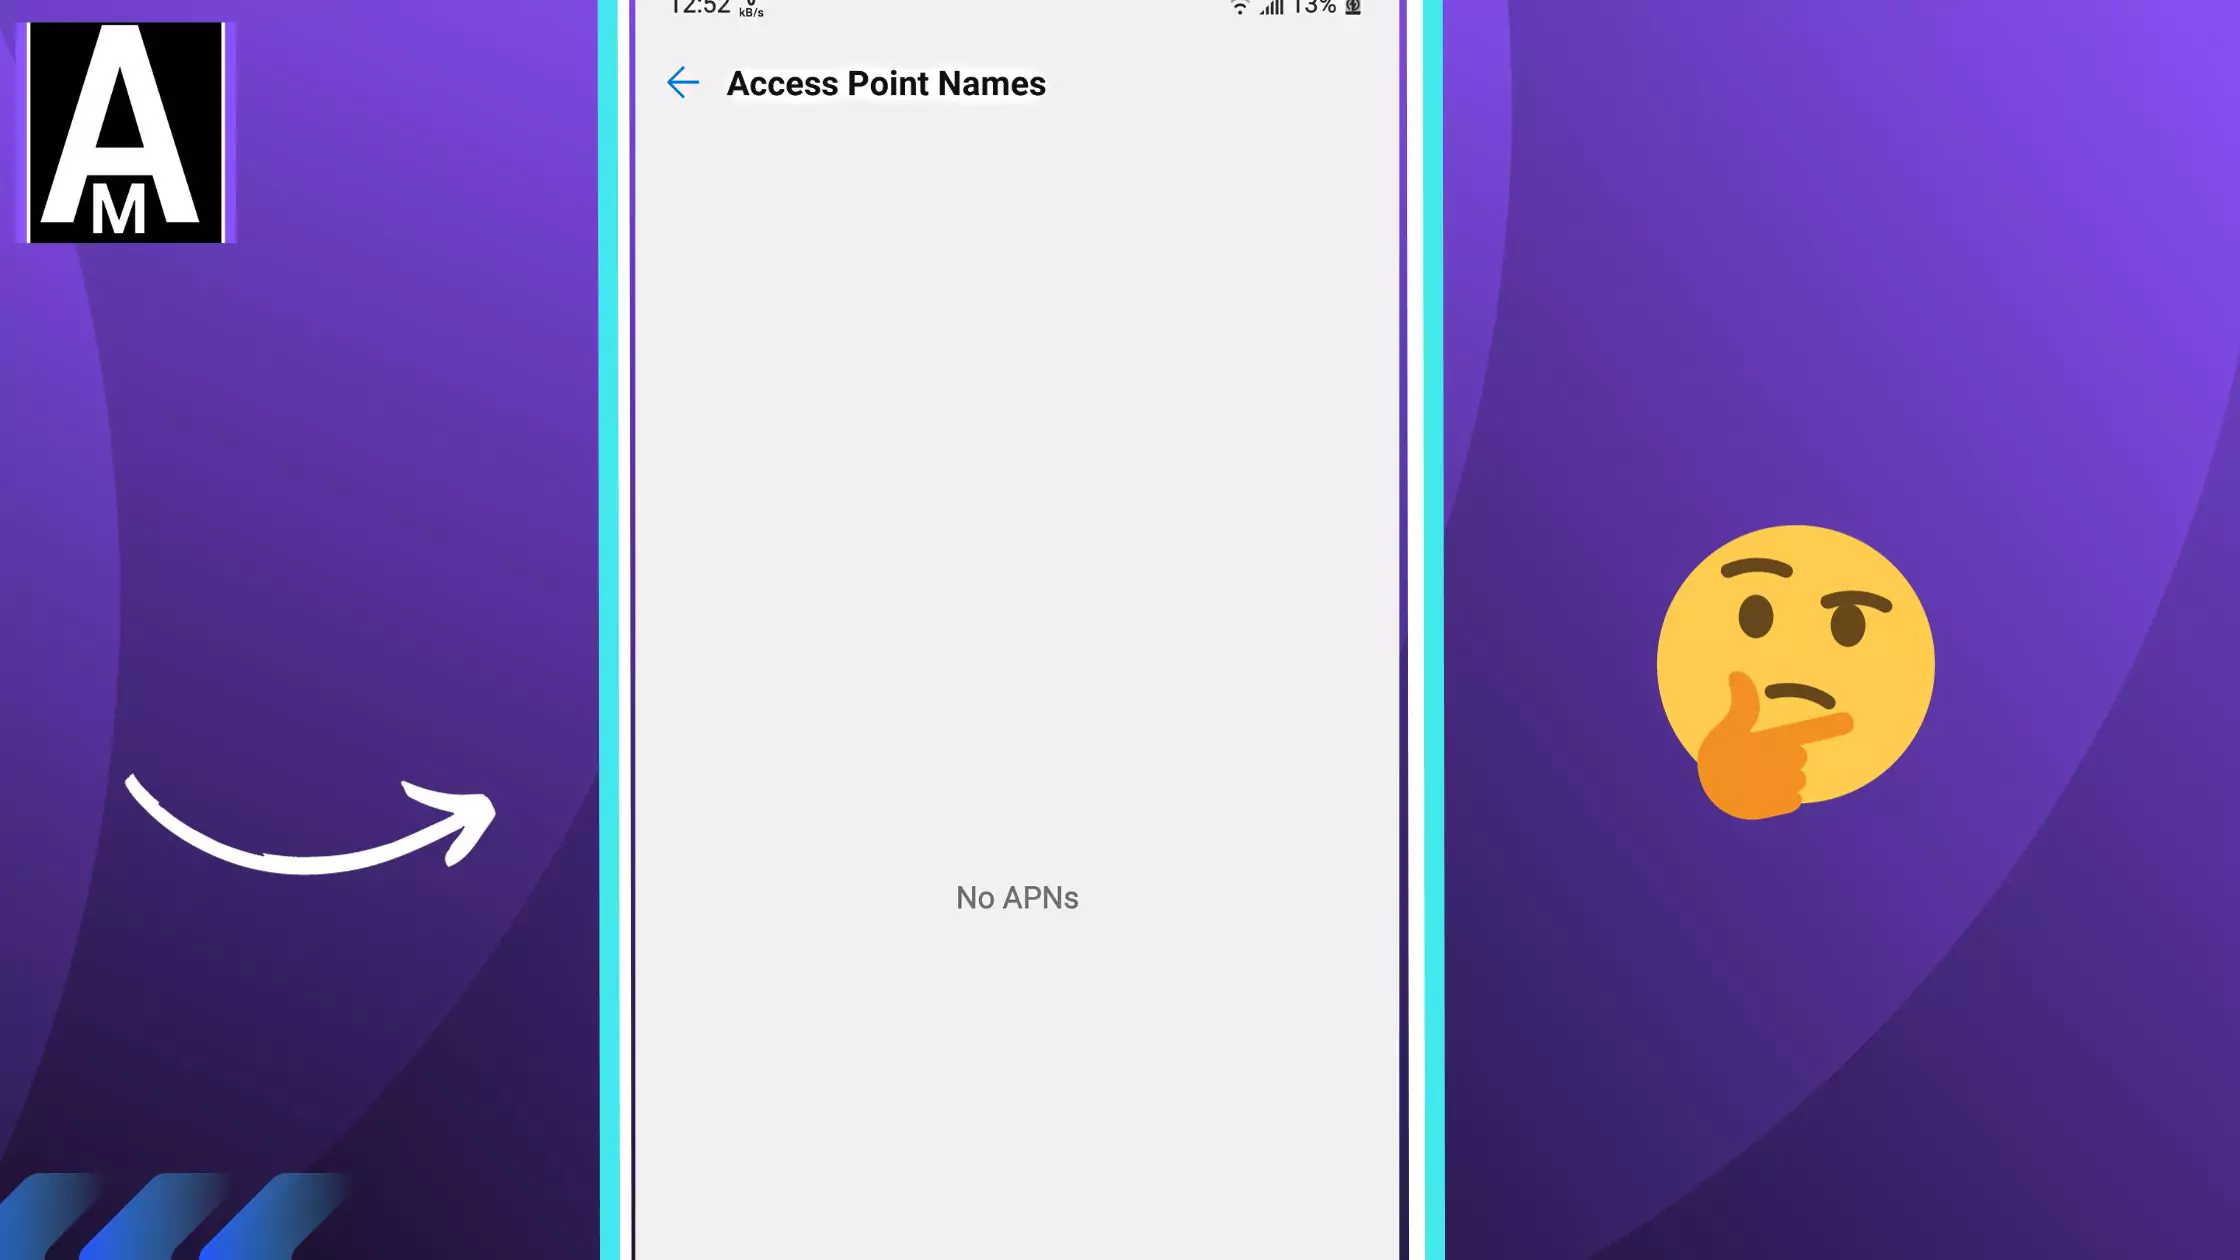
- What is the “no APN specified on this device” error? This error message means that your device does not have an APN configured.
- How to fix the “no APN specified on this device” error: There are a few things you can try to fix this error:
- Check your APN settings and make sure they are correct.
- Restart your device.
- Reset your network settings.
- Update your device’s software.
- Contact your carrier for help.
An APN (Access Point Name) is a unique identifier that tells your device how to connect to your carrier’s network. Without an APN, your device will not be able to connect to the internet or send and receive text messages.
The “no APN specified on this device” error message means that your device does not have an APN configured. This can happen for several reasons, such as:
- You have never configured an APN on your device.
- Your APN settings have been reset.
- Your carrier has changed its APN settings.
- There is a problem with your device’s software.
How To Fix No Apn Specified On This Device or access point settings are not available for this user
There are a few things you can try to fix the “no APN specified on this device” or the “access point settings are not available for this user” error:
It seems that mostly the OnePlus users have are facing the issue of not being able to edit APN settings, and it can be frustrating when you’re unable to access mobile data or properly configure your device. I can suggest some general troubleshooting steps for all devices that might help in this situation:
Fix 1: Contact Your Service Provider
Sometimes, APN settings are locked by the carrier. Reach out to your mobile service provider’s customer support to check if they have any restrictions on editing APN settings and to confirm the correct settings.
Fix 2: Update Your Phone
Ensure that your device is running the latest software and firmware updates. Manufacturers may release updates that fix issues related to APN settings.
Fix 3: Reset Network Settings
Go to your phone’s settings, and look for a “Reset Network Settings” option. This will reset all network-related settings on your device. After the reset, you might be able to add or modify APN settings.
Fix 4: Try Another SIM Card
If you have access to another SIM card from a different carrier, try inserting it into your device to see if the APN settings become editable. If they do, this could be a carrier-specific issue.
Fix 5: Check for Third-Party Apps
Some third-party apps or custom ROMs may interfere with APN settings. Ensure that no such apps are causing the issue.

Not Top Recommendations
NOTE: Be cautious while following this:
Fix 1: Rooting Your Device
While not recommended for everyone, some users have resorted to rooting their devices to gain full control over APN settings. However, this is a more advanced and risky step that may void your warranty and could lead to other issues if not done correctly.
Fix 2: Factory Reset
As a last resort, you can perform a factory reset on your device. This will erase all data on your device, so make sure to back up your important information before proceeding. After the reset, you can set up your device from scratch.
Keep in mind that APN settings can vary from one carrier to another, so it’s crucial to have the correct settings provided by your carrier’s customer support.
Contact your carrier. If you have tried all of the above steps and you are still getting the “no APN specified on this device” error, you may need to contact your carrier for help. They may be able to help you troubleshoot the problem or reset your APN settings remotely.
Additional information
Here are some additional tips for troubleshooting network problems:
- Make sure that you are in an area with good cell service.
- Try moving to a different location.
- Turn off airplane mode and turn it back on.
- Remove your SIM card and reinsert it.
- Try using a different SIM card.
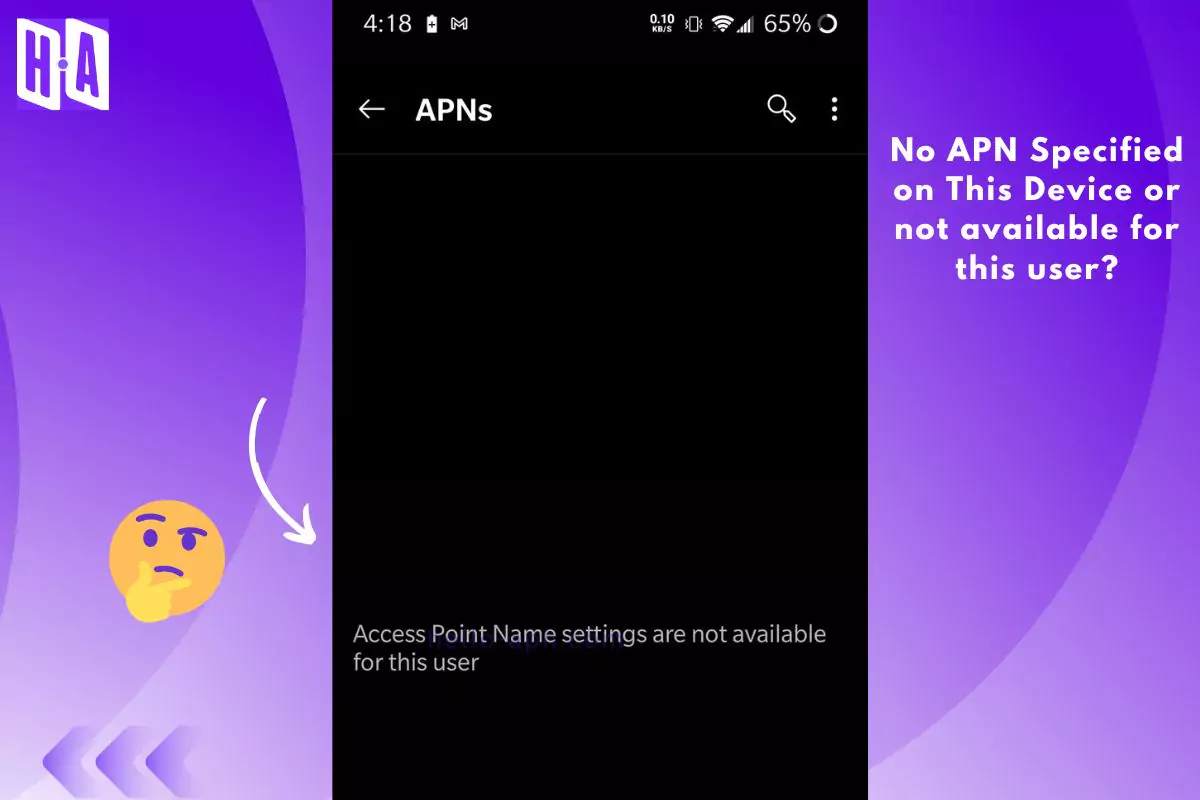
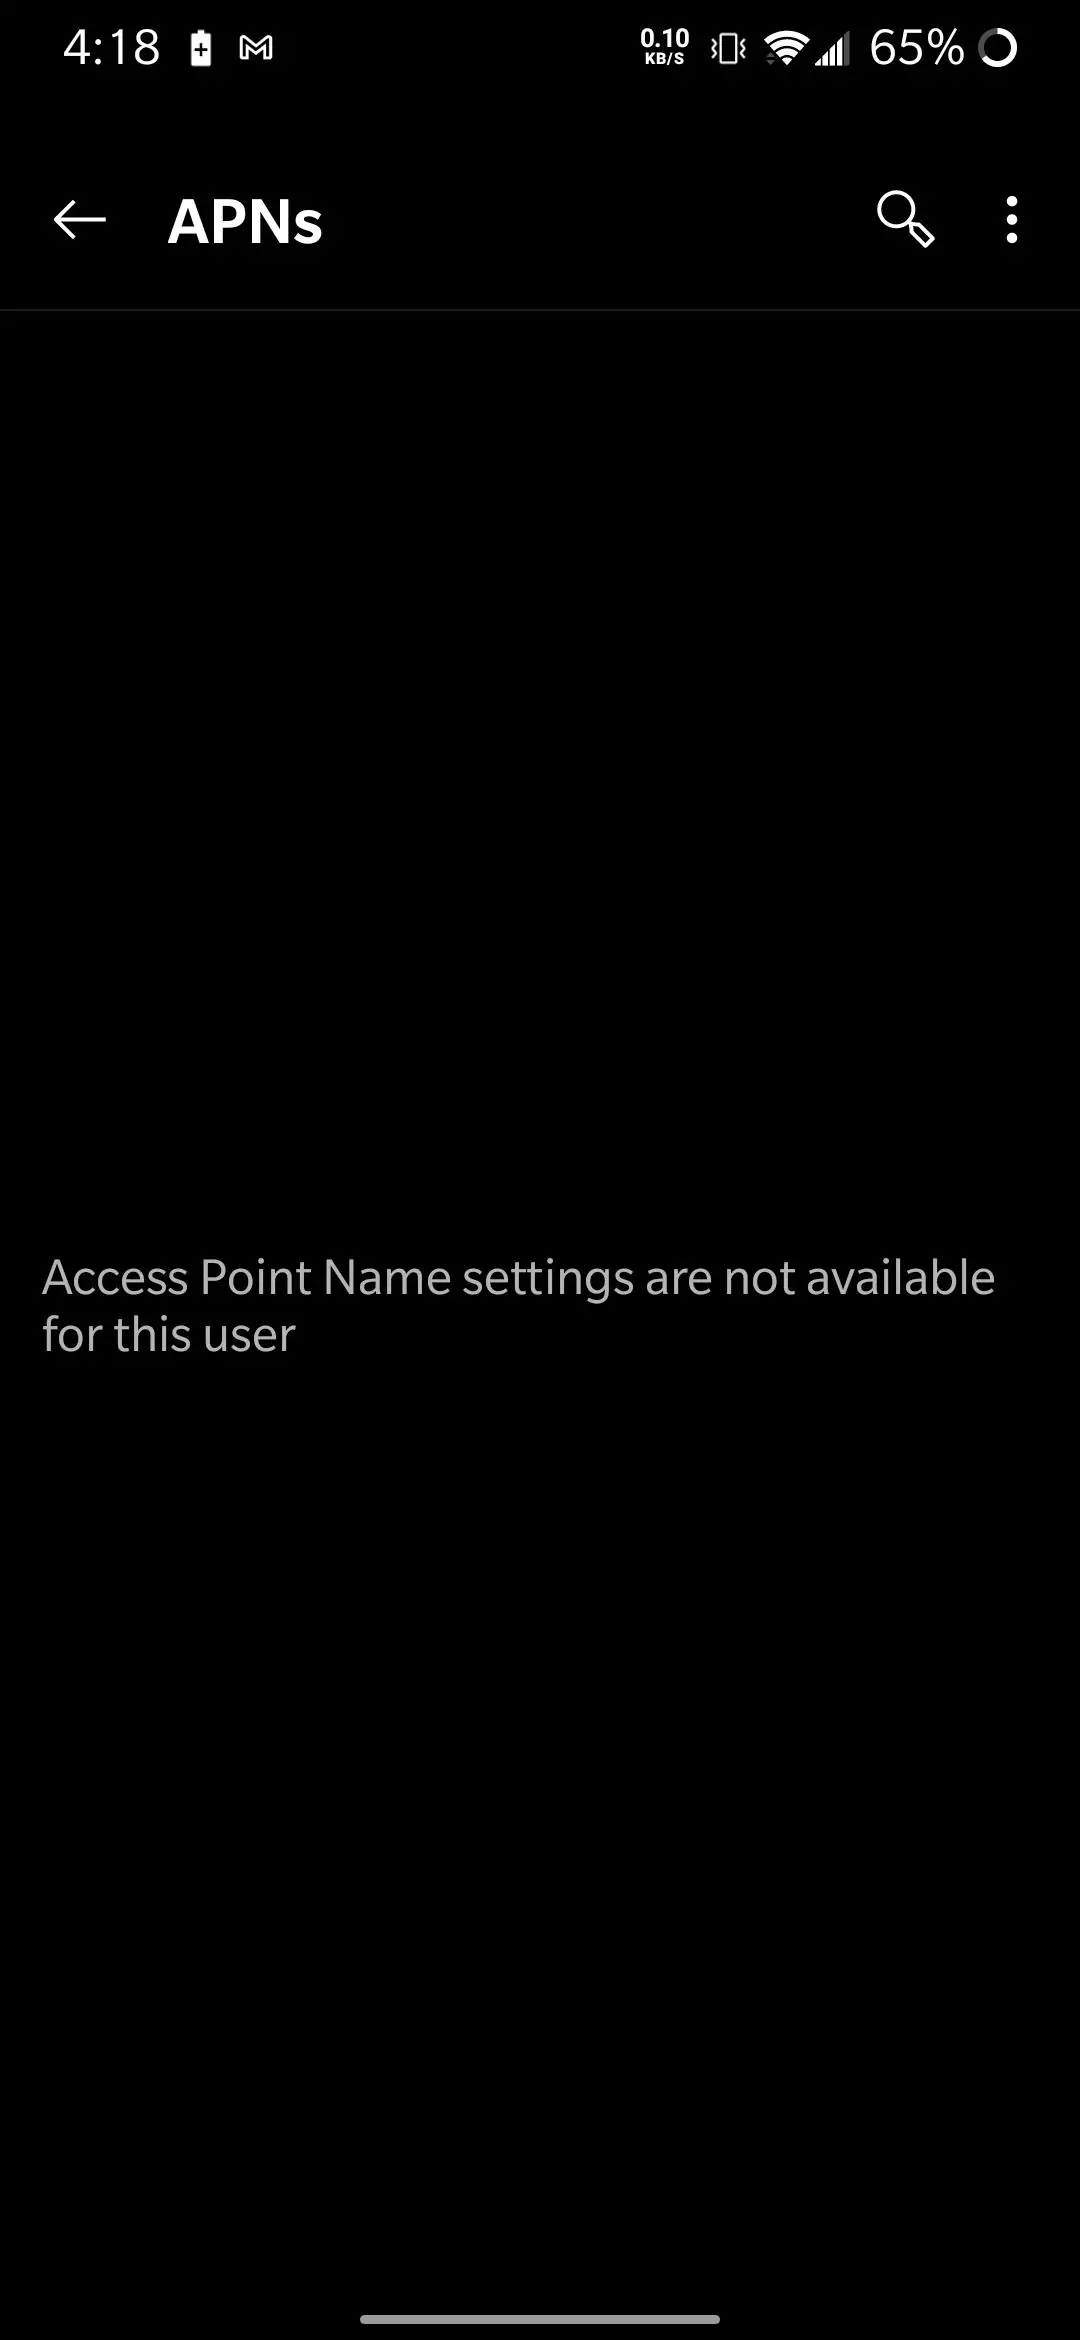
Access Point Settings Are Not Available For This User
The “APN is not available for this use” error can occur on Android and iOS devices due to various factors, including incorrect APN settings, software glitches, or SIM card issues. To address this error, try restarting your phone, resetting APN settings to default, updating your device’s software, or contacting your mobile carrier for assistance. Additional troubleshooting steps involve ensuring proper SIM card insertion, testing on different networks, checking your carrier’s network status, and enabling roaming when traveling internationally. If none of these solutions work, consider reaching out to your phone’s manufacturer for further assistance.
No Apn Specified On This Device
The “No APN specified on this device” error indicates your phone lacks the crucial Access Point Name (APN) settings necessary for connecting to your mobile carrier’s network, preventing mobile data and network service use. This issue may arise from accidental changes to APN settings, recent carrier updates, or potential SIM card or network problems. To resolve it, restart your phone, reset APN settings to their defaults, update your phone’s software, or contact your carrier. Follow OS-specific instructions for resetting APN settings. After resetting, try reconnecting to your mobile data network. If the error persists, reach out to your carrier for further assistance, as it could signify problems with your SIM card or the carrier’s network.
Here’s how to reset the apn and network settings
To reset the APN and network settings on both Android and iOS devices, follow these general steps:
- Open the “Settings” app on your device.
- For Android: Navigate to “Network & Internet” or “Connections.” For iOS: Scroll down and tap “General.”
- For Android: Select “Mobile network” or “Cellular networks.” For iOS: Scroll further down and tap “Reset.”
- For Android: Tap “Access Point Names” (APN). For iOS: Choose “Reset Network Settings.”
- For Android: Tap the three dots or the “More” option in the top-right corner. For iOS: Enter your device’s passcode if prompted.
- For Android: Choose “Reset to default” or a similar option to reset the APN settings. For iOS: Confirm the reset when asked.
However trying the different APN Settings can be helpful, supporting you to sign the t mobile and look for the apn, you can use. Or if you are looking for the Safelink APNs it’s available too. When you use this, it improves your internet speed and stability in gaming in terms of ping.

Conclusion
Fresh Facts and Fixes for “No APN Specified on This Device”
- Hidden SIM Toolkit Settings
- I found out that on some phones, the SIM Toolkit app (often pre-installed) contains hidden network configuration options. Accessing this app and selecting “Network Settings” allowed me to manually apply APN settings that worked perfectly.
- Switching SIM Slots
- Switching my SIM card to the second slot on my dual-SIM phone fixed the issue. Apparently, the first SIM slot on my device had a hardware fault, and the second slot processed the APN settings without issues.
- Airplane Mode Trick
- By toggling Airplane Mode on and off three times consecutively, my phone reset its network stack, which automatically prompted APN detection. This simple but unconventional method wasn’t mentioned anywhere online.
- Re-Registering to the Carrier Network
- I manually deregistered from my carrier network by switching to a different network in the settings (like switching from 4G to 3G). Then, I re-registered back to my carrier, which refreshed the APN configuration.
- Enabling ‘Data Roaming’ for APN Activation
- Although I wasn’t roaming, enabling “Data Roaming” under the network settings forced my phone to recognize and configure the correct APN. Once set, I turned it off again.
- Booting in Safe Mode
- Booting into Safe Mode and attempting to edit APN settings worked when all other methods failed. This bypassed any third-party apps that might have been interfering with APN modifications.
- Testing with an APN Debug Tool
- I used a third-party app designed for network debugging. It provided a detailed report that highlighted why the APN wasn’t applying. It turned out that my phone’s radio settings were mismatched with the carrier’s frequency bands.
- Manually Selecting the Bandwidth Frequency
- Some carriers operate on specific frequency bands (e.g., 800 MHz or 2600 MHz). I manually selected the band in the hidden Phone Information menu (
*#*#4636#*#*), which allowed the APN settings to work.
- Some carriers operate on specific frequency bands (e.g., 800 MHz or 2600 MHz). I manually selected the band in the hidden Phone Information menu (
- Custom APN Profile with a Proxy
- To bypass carrier restrictions, I created a custom APN profile and added a free proxy server address. This workaround allowed internet access even when the carrier-specific APN failed to apply.
- APN Priority Settings
- I learned that APNs have a hidden priority value. Using an XML editor on a rooted phone, I assigned the highest priority to my custom APN, which forced the system to prefer it over the default one.
- Disabling Preloaded Carrier Apps
- My phone came preloaded with carrier-specific apps like “MyCarrier” or “CarrierHub,” which interfered with APN settings. Disabling or uninstalling these apps fixed the issue.
- Performing a Network Stack Reset via ADB
- Using ADB (Android Debug Bridge), I executed a command to reset the network stack (
adb shell su -c "service call phone 46"). This action reset all network-related configurations, including APN settings, without a factory reset.
- Using ADB (Android Debug Bridge), I executed a command to reset the network stack (
- Dual-Profile APN Conflict
- I discovered that having two active APN profiles with conflicting parameters (e.g., one set to IPv4 and another to IPv6) caused the issue. Deleting one profile resolved the conflict.
- Checking Hidden Permissions for APN Settings
- On my Android device, I navigated to the App Permissions settings and granted network-related permissions to the “Carrier Services” app. Without these permissions, APN settings weren’t applying.
- Updating the Baseband Version
- An outdated baseband version can cause network-related issues. Flashing the latest baseband firmware specific to my device fixed the APN detection problem.
- Disabling Automatic Network Selection
- Switching from automatic to manual network selection allowed me to choose a different carrier temporarily, which somehow triggered my original carrier to send the correct APN configuration.
- Investigating Background Processes via Logs
- By analyzing background logs using an advanced log reader app, I discovered that a system app called “Network Optimizer” was overriding my APN settings. Disabling this app restored my custom APN.
- Using an E-SIM Instead of a Physical SIM
- When I switched to an e-SIM profile for the same carrier, the APN issue vanished entirely. This was because the e-SIM automatically came with a preconfigured APN.
- Region-Specific APN Restrictions
- I discovered that my carrier restricts APN changes in certain regions. After traveling to a different state, I could edit the APN settings without issues.
- Carrier Reset via SIM Replacement
- When I got a replacement SIM card, the new card came with updated carrier configurations that solved the APN issue. Old SIMs often have outdated or locked APN settings.
If you are getting the “no APN specified on this device” error, there are a few things you can try to fix. First, check your APN settings and make sure they are correct. If they are not correct, add the correct APN settings manually. You can find the correct APN settings for your carrier on their website or by contacting them or simply contact us.
If you have checked your APN settings and they are correct, try restarting your device, resetting your network settings, and updating your device’s software. If you have tried all of these steps and you are still getting the error, you may need to contact your carrier for help.