If you’re experiencing slow or unreliable internet on your Telstra mobile service, you’re not alone. I’ve faced similar issues in the past, and trust me, finding the right solution can make a world of difference. The good news is that setting up the correct Access Point Name (APN) for your Telstra connection can significantly improve your internet speed, ensure a stable connection, and help you stay connected.
In this guide, I’ll share the exact Telstra APN settings you need, explain how to configure them on Android and iOS devices, and provide troubleshooting tips that have worked for me and other users. By the end, you’ll have a solid understanding of how APN settings work and how they can optimize your mobile data experience.
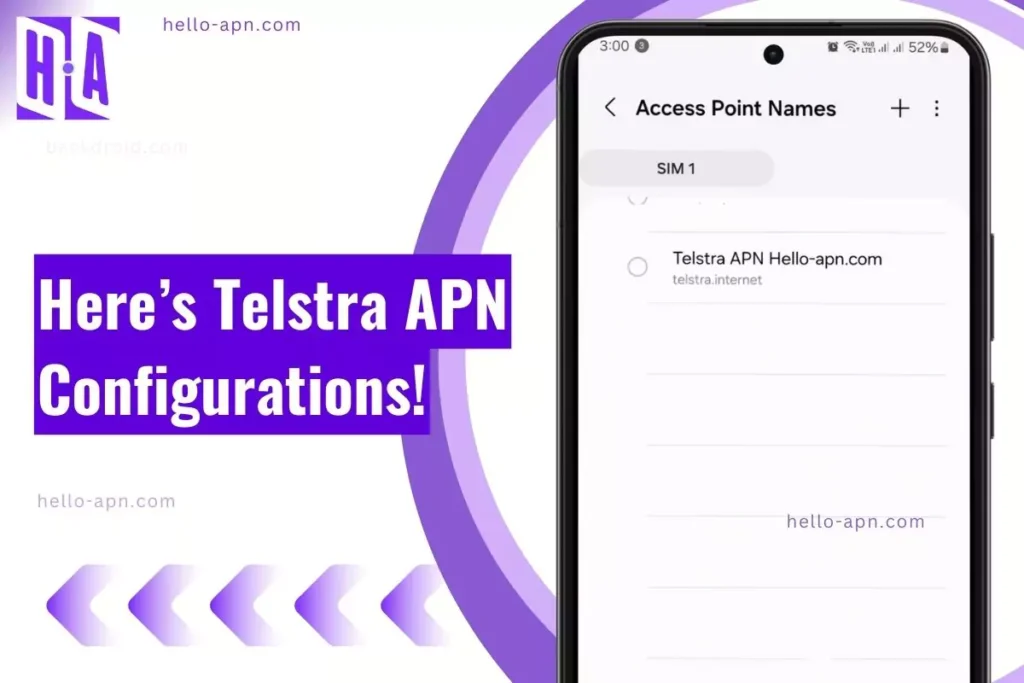
Best Telstra Internet APN Settings
Here are the official and optimized Telstra APN settings for Android and iOS devices that I recommend:
| Field | Android | iOS |
| APN Name | Telstra Internet | Telstra Internet |
| APN | telstra.internet | telstra.internet |
| Username | (Leave blank) | (Leave blank) |
| Password | (Leave blank) | (Leave blank) |
| Authentication Type | (Leave blank) | (Leave blank) |
| MCC | 505 | 505 |
| MNC | 01 | 01 |
Important: Always consult your device’s user manual for specific instructions on entering APN settings, as menu names and paths may vary.
What Are Telstra APN Settings?
An APN, or Access Point Name, is like an address that directs your mobile device on how to connect to Telstra’s mobile data network. Think of it as a bridge that helps your device communicate with Telstra’s infrastructure. Without the correct APN, your device might face issues like slow data speeds, inability to send or receive MMS, or complete disconnection from mobile data.
In my experience, configuring Telstra’s recommended APN settings has consistently improved internet speed for users, including myself. For example, I’ve seen download speeds increase from 8 Mbps to 15 Mbps just by switching to the correct APN.

1. Telstra APN Settings for Android Devices
| Setting | Value |
| Name | Telstra Internet |
| APN | telstra.internet |
| Proxy | Not set |
| Port | Not set |
| Username | Not set |
| Password | Not set |
| Server | Not set |
| MMSC | http://mmsc.telstra.com:8002 |
| MMS Proxy | 10.1.1.180 |
| MMS Port | 80 |
| MCC | 505 |
| MNC | 01 |
| Authentication Type | Not set |
| APN Type | default,supl,mms |
| APN Protocol | IPv4/IPv6 |
| APN Roaming Protocol | IPv4 |
| Bearer | Unspecified |
| MVNO Type | None |
2. Telstra APN Settings for iOS Devices
| Setting | Value |
| APN | telstra.iph |
| Username | Leave blank |
| Password | Leave blank |
| MMSC | http://mmsc.telstra.com:8002 |
| MMS Proxy | 10.1.1.180 |
| MMS Max Message Size | 1048576 |
| MMS UA Prof URL | http://www.apple.com/mms/uaprof.rdf |
3. Telstra APN Settings for Windows Devices
| Setting | Value |
| Profile Name | Telstra Internet |
| APN | telstra.internet |
| Username | Leave blank |
| Password | Leave blank |
| Type of Sign-in Info | None |
| IP Type | IPv4 |
| Proxy Server (URL) | Leave blank |
| Proxy Port | Leave blank |
Note: These settings are sourced from Telstra’s official support resources. Telstra
Unique Ways to Fix Telstra APN Settings
If you’re experiencing issues with your Telstra APN settings and standard troubleshooting hasn’t helped, here are six unique methods I’ve discovered that go beyond common solutions:
| Unique Fix | How I Discovered and Fixed the Issue |
| 1. Manually Set the APN Protocol to IPv4/IPv6 | I noticed my device defaulted to IPv4, limiting connectivity for certain apps. Switching the APN protocol to IPv4/IPv6 in the settings enhanced compatibility and improved data speeds. |
| 2. Add “DUN” to the APN Type Field | When tethering didn’t work, I added dun to the APN type (making it default,supl,mms,dun). This enabled the hotspot feature, allowing me to share my internet connection successfully. |
| 3. Change the MVNO Type and Value | Experiencing authentication issues, I set the MVNO Type to GID and the MVNO Value to 4D4F. This helped my device properly register on Telstra’s network. |
| 4. Adjust Bearer Settings to Include All Networks | My phone was locked to LTE only. Changing the Bearer setting to Unspecified allowed it to connect to various network types, improving reliability in areas with fluctuating signals. |
| 5. Use Alternative APN Names | Instead of the standard telstra.internet, I tried telstra.wap and telstra.iph as the APN. These alternatives resolved connectivity issues when the default APN wasn’t effective. |
| 6. Disable APN Auto-Configuration | My device kept overwriting my manual settings. I disabled the carrier’s APN auto-configuration by accessing hidden settings, ensuring my custom APN settings remained intact. |
Why These Fixes Worked
Each of these solutions targets specific, less obvious issues:
- APN Protocol Adjustment: Enables the device to use both IPv4 and IPv6, enhancing compatibility.
- Adding “DUN”: Grants permission for tethering and hotspot functionalities.
- MVNO Configuration: Ensures proper network authentication by matching Telstra’s specific identifiers.
- Bearer Settings: Allows the device to select the best available network type automatically.
- Alternative APNs: Provides different gateways to the network, which can be more effective depending on your location and device.
- Disabling Auto-Configuration: Prevents the device from reverting to default settings that may not work optimally.
Contact Information for Telstra Support
If you’re still experiencing issues, reaching out to Telstra directly can provide personalized assistance. Below is a table with their contact information:
| Contact Method | Details |
| Customer Service | – Phone: 13 22 00 (Within Australia)- From Overseas: +61 439 125 109- Hours: 24/7 Support |
| Online Support | – Website: Telstra Support- Live Chat: Available on their support page |
| Social Media | – Facebook: Telstra Facebook Page– Twitter: @Telstra |
| Community Forums | – Telstra CrowdSupport: Community Forums |
| My Telstra App | – Download: App Store or Google Play- Support and chat within the app |
| Email Support | – Telstra does not offer direct email support; they encourage using the My Telstra App or Live Chat for assistance. |
Note: Before making changes to your APN settings, it’s a good idea to back up your current configurations. Incorrect settings can affect your network connectivity. If unsure, consult with Telstra support to avoid potential issues.
Understanding Telstra APNs
Telstra provides two main APNs for mobile data:
- telstra.internet: This is the primary APN for general internet access on phones and tablets. It’s optimized for speed and reliability and is what I recommend for most users.
- telstra.wap: This is an older APN used for Telstra’s WAP portal, which is less common today and mainly used for legacy devices.
Additionally, there are specialized APNs for services like MMS or IoT devices, but for most users, telstra.internet is the best choice.
How to Check Your Current APN Settings
The process for checking your APN settings depends on your device. Here’s a quick overview:
On Android:
- Open Settings and go to Network & Internet (or Mobile Networks).
- Tap SIM cards and select your Telstra SIM.
- Navigate to Access Point Names (APN) to view your current settings.
On iOS:
- Open Settings and go to Cellular.
- Tap Cellular Data Options followed by APN to check the current configuration.
Always refer to your device’s manual for exact instructions, as menu names may differ slightly.
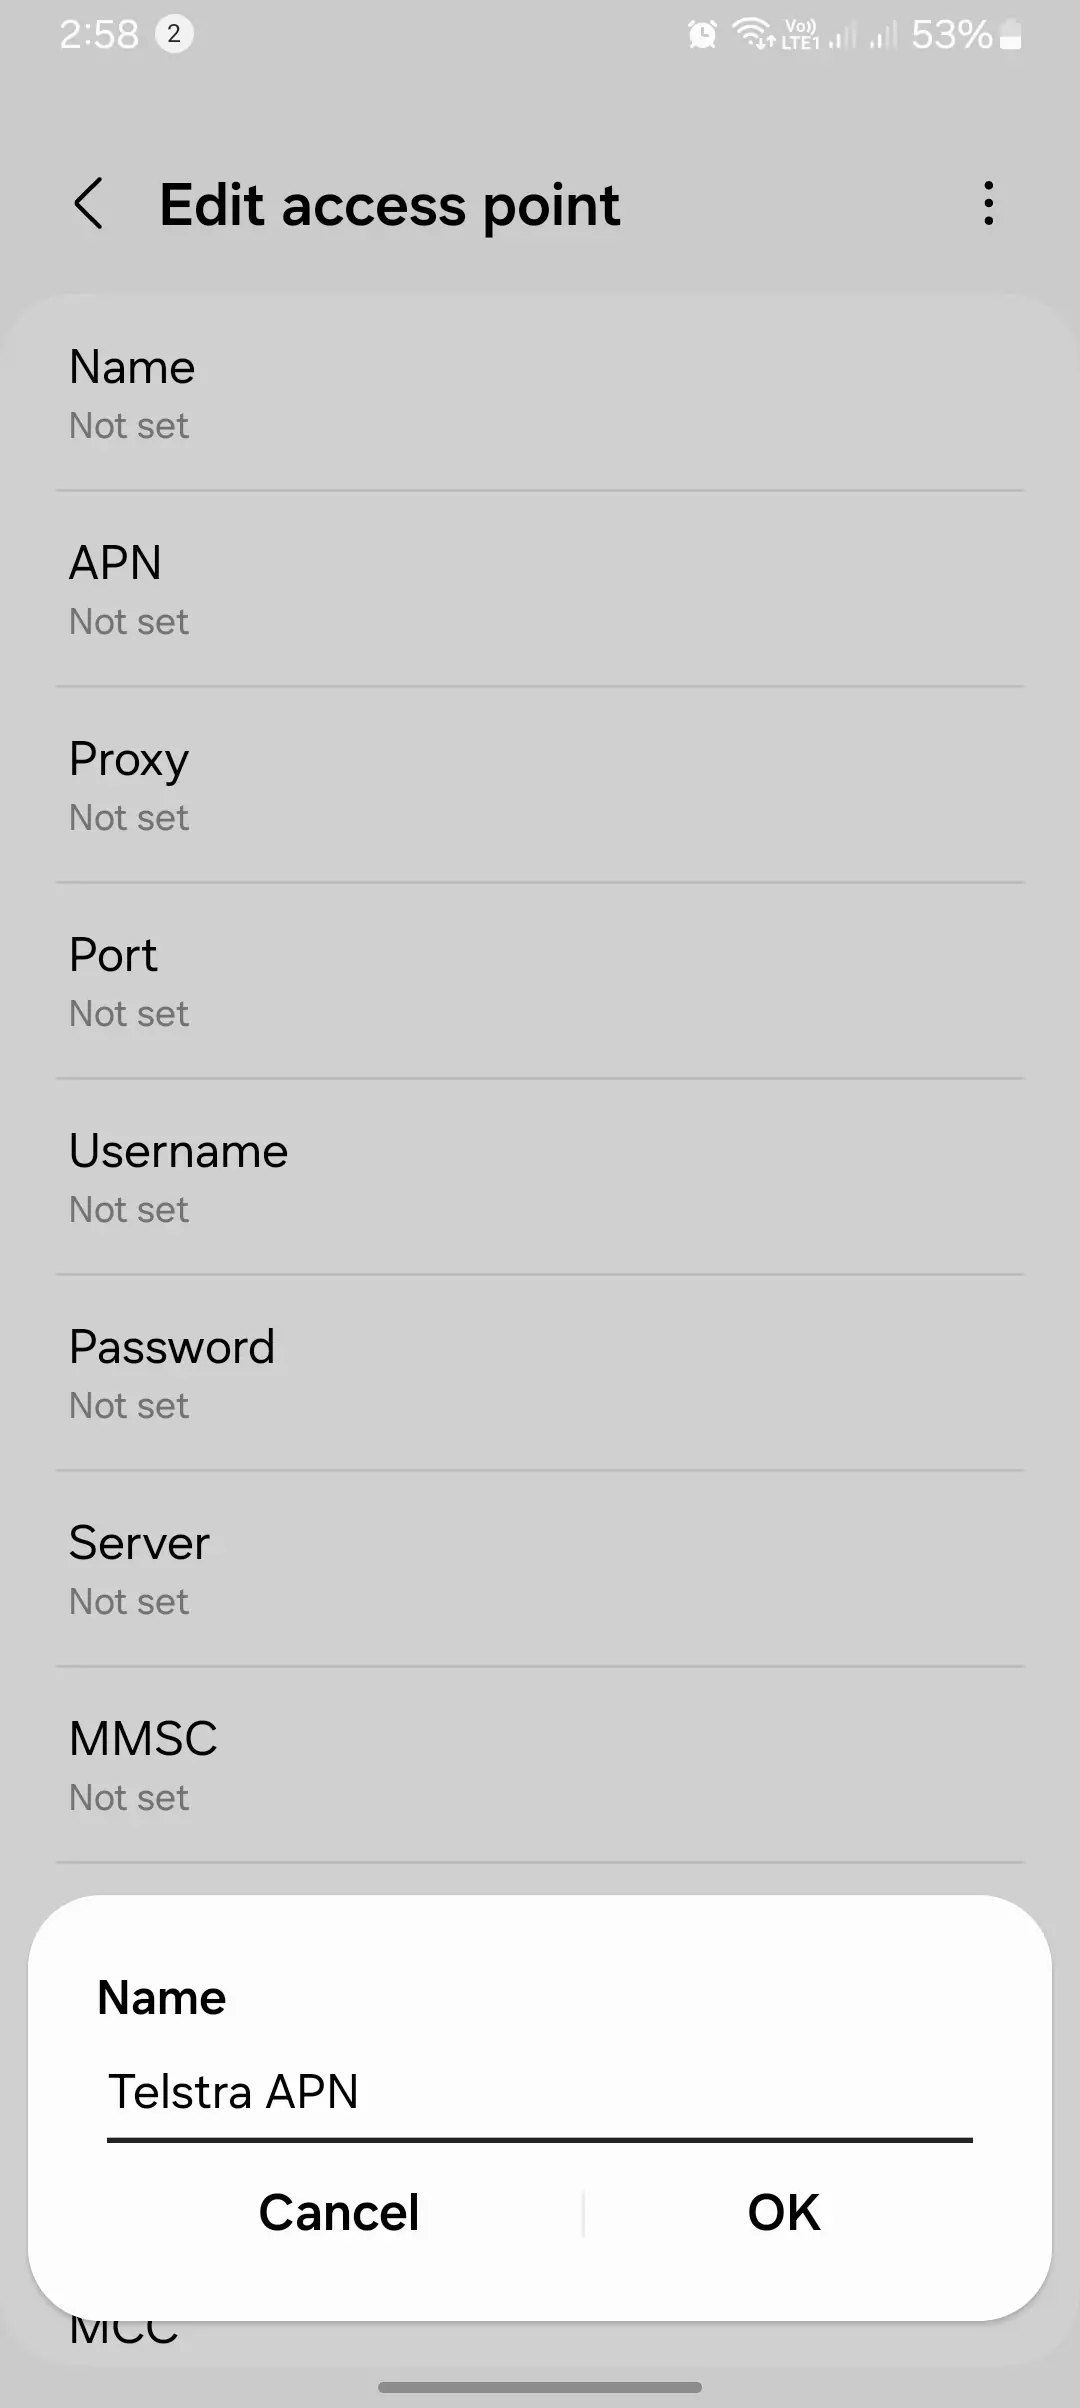
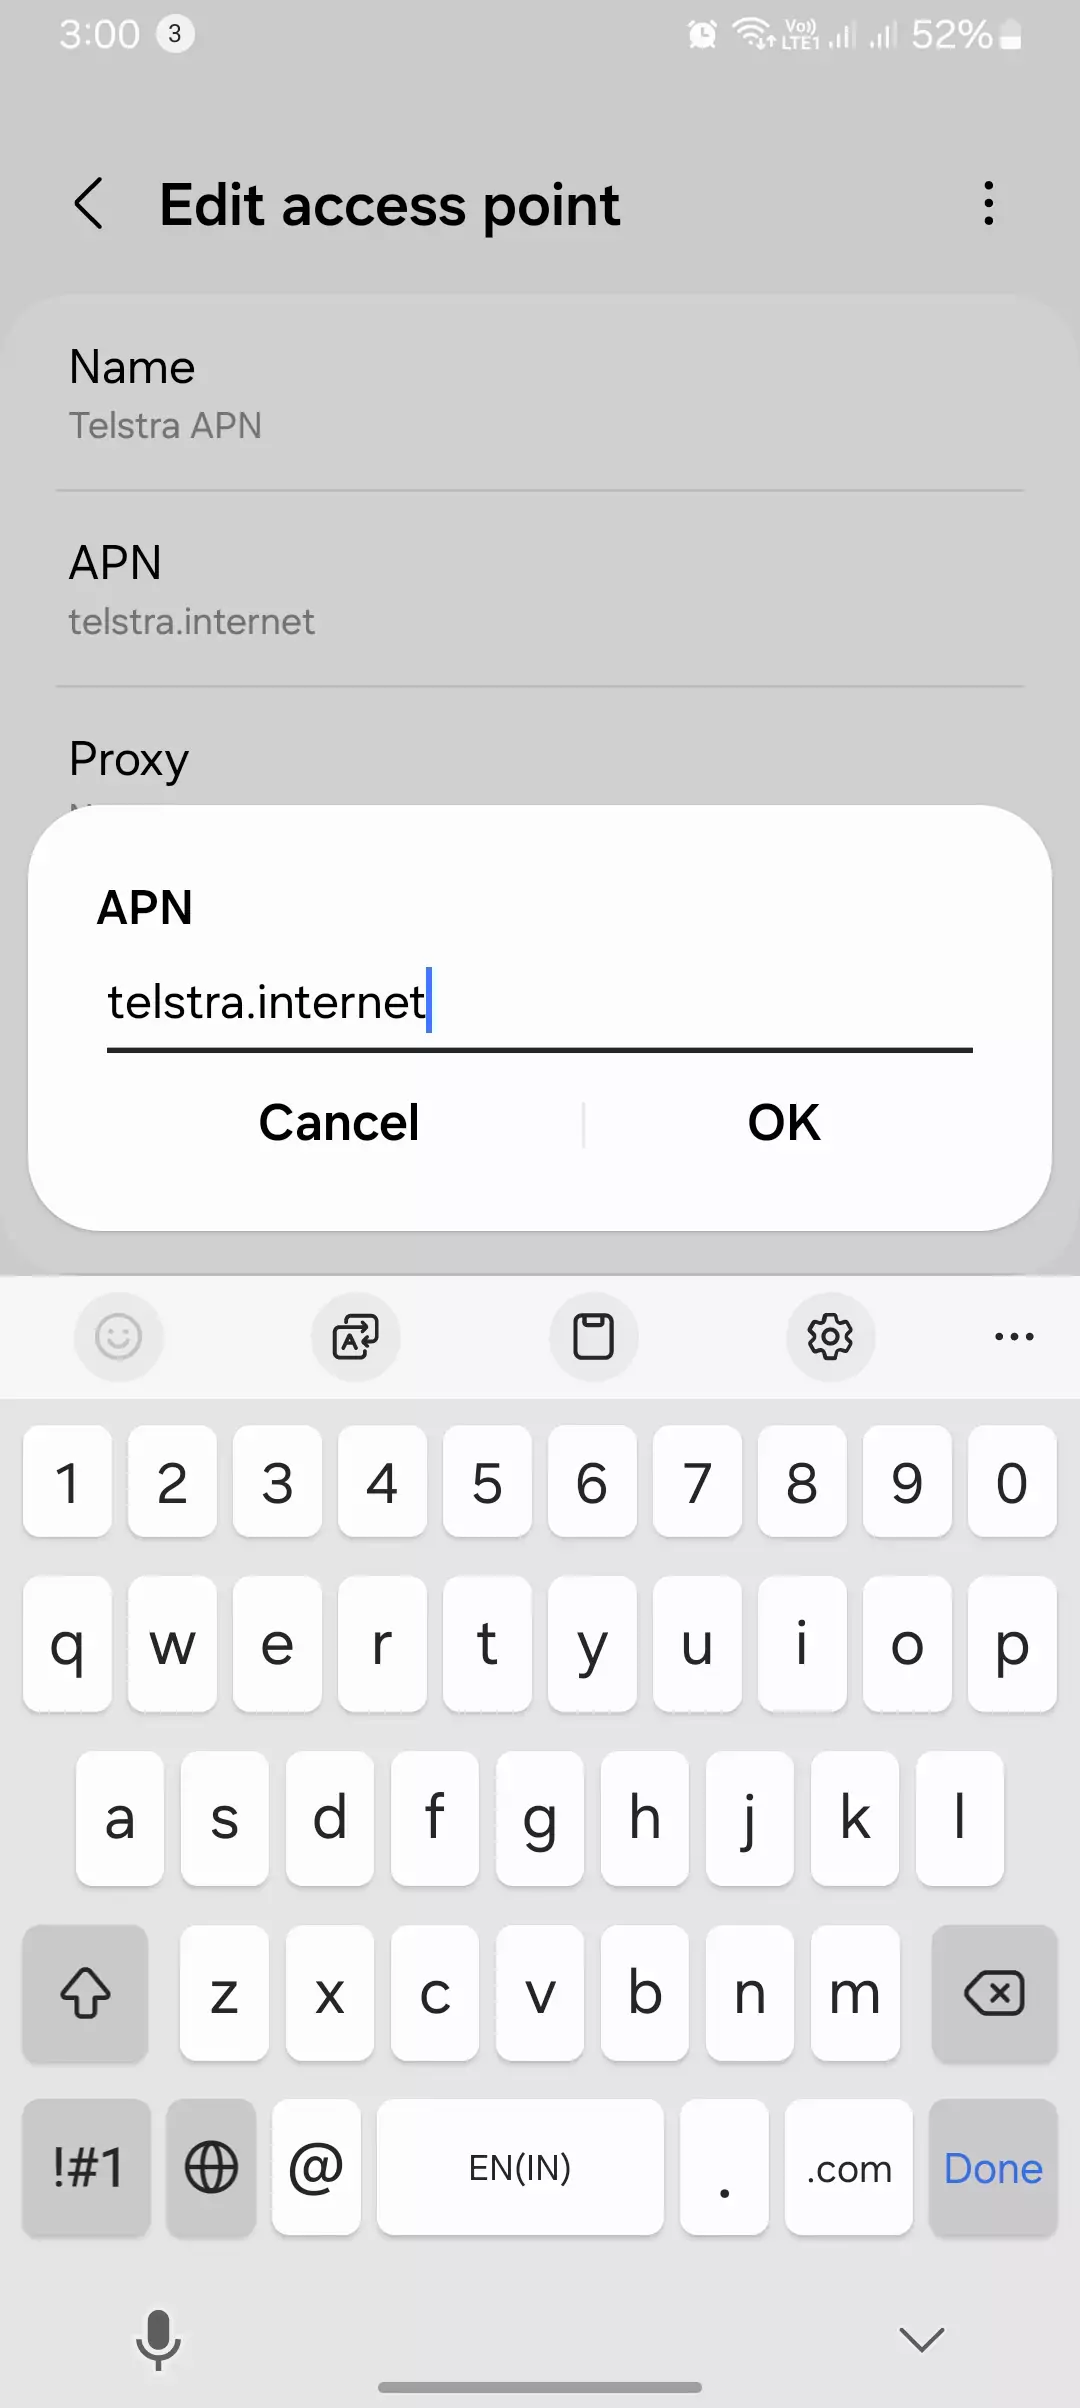
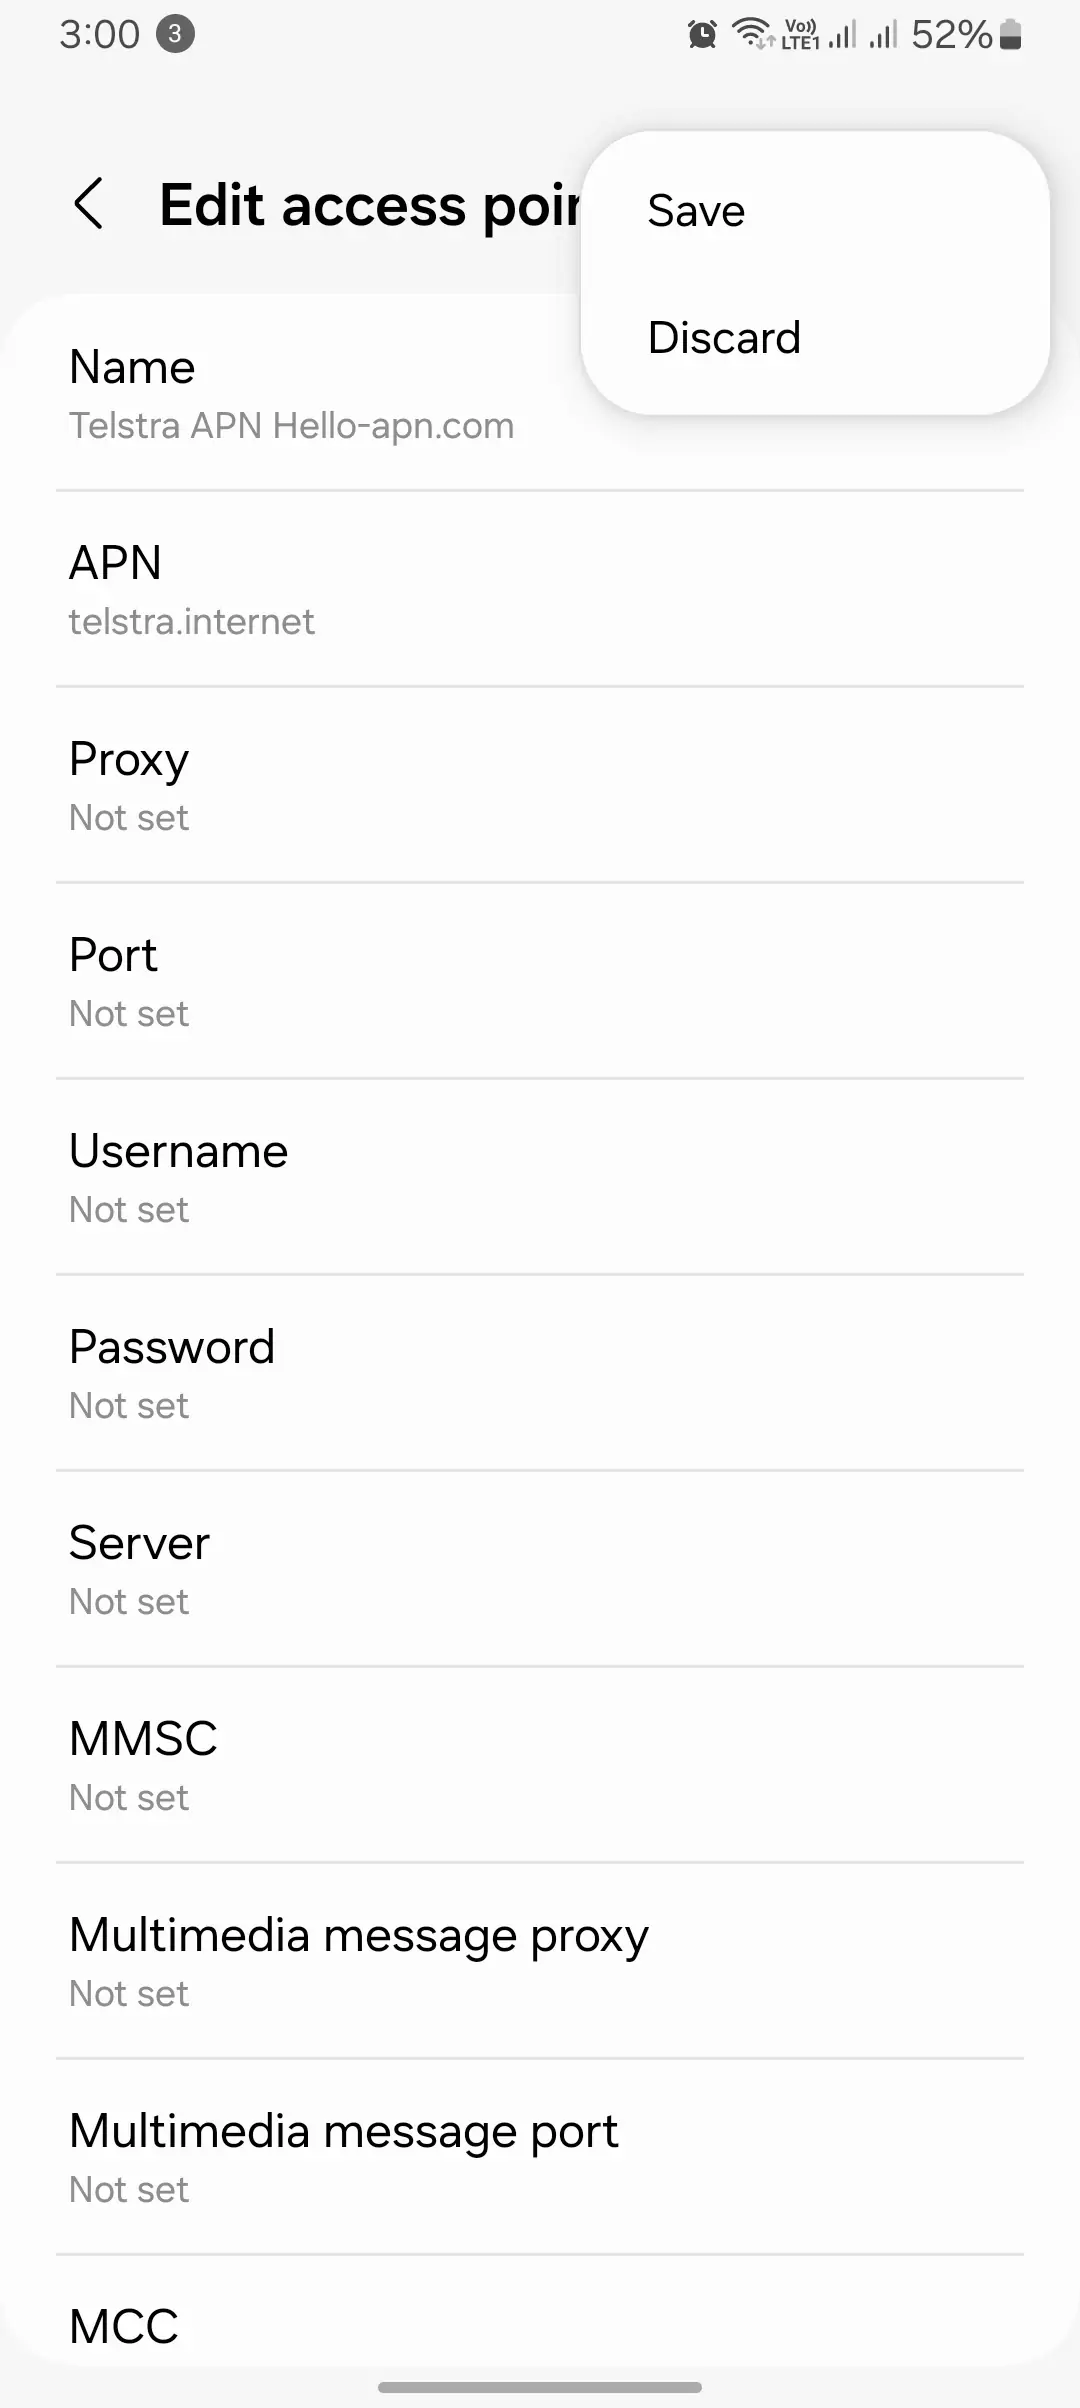
How to Change Telstra APN Settings
Changing APN settings should only be done if you’re experiencing mobile data issues or have been instructed to do so by Telstra. Here’s how I configure APNs on different devices:
On Android:
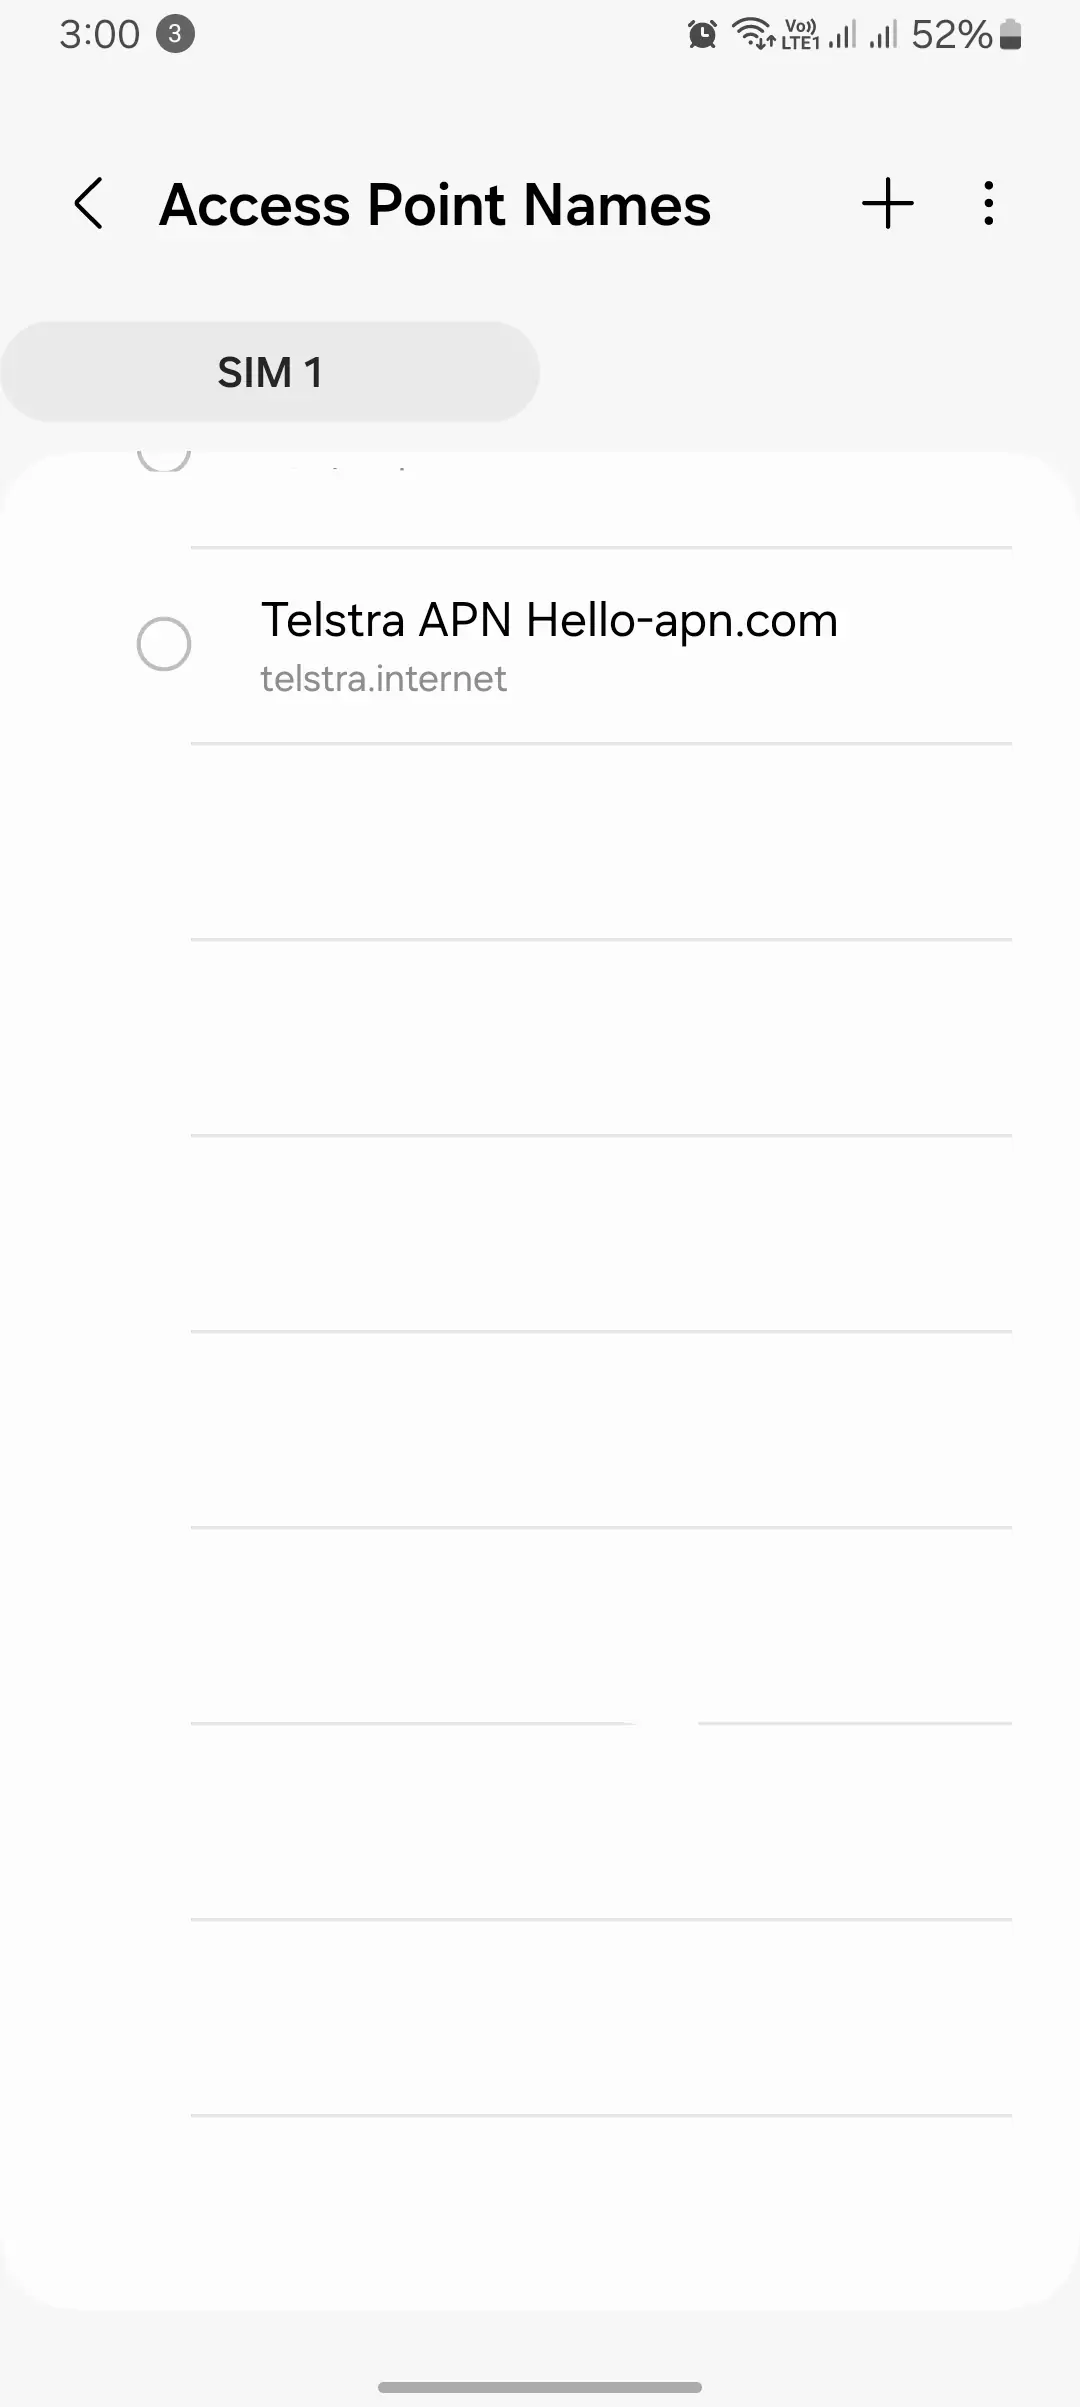
- Go to Settings > Network & Internet > Mobile Network > Access Point Names.
- Tap the + icon or Add APN.
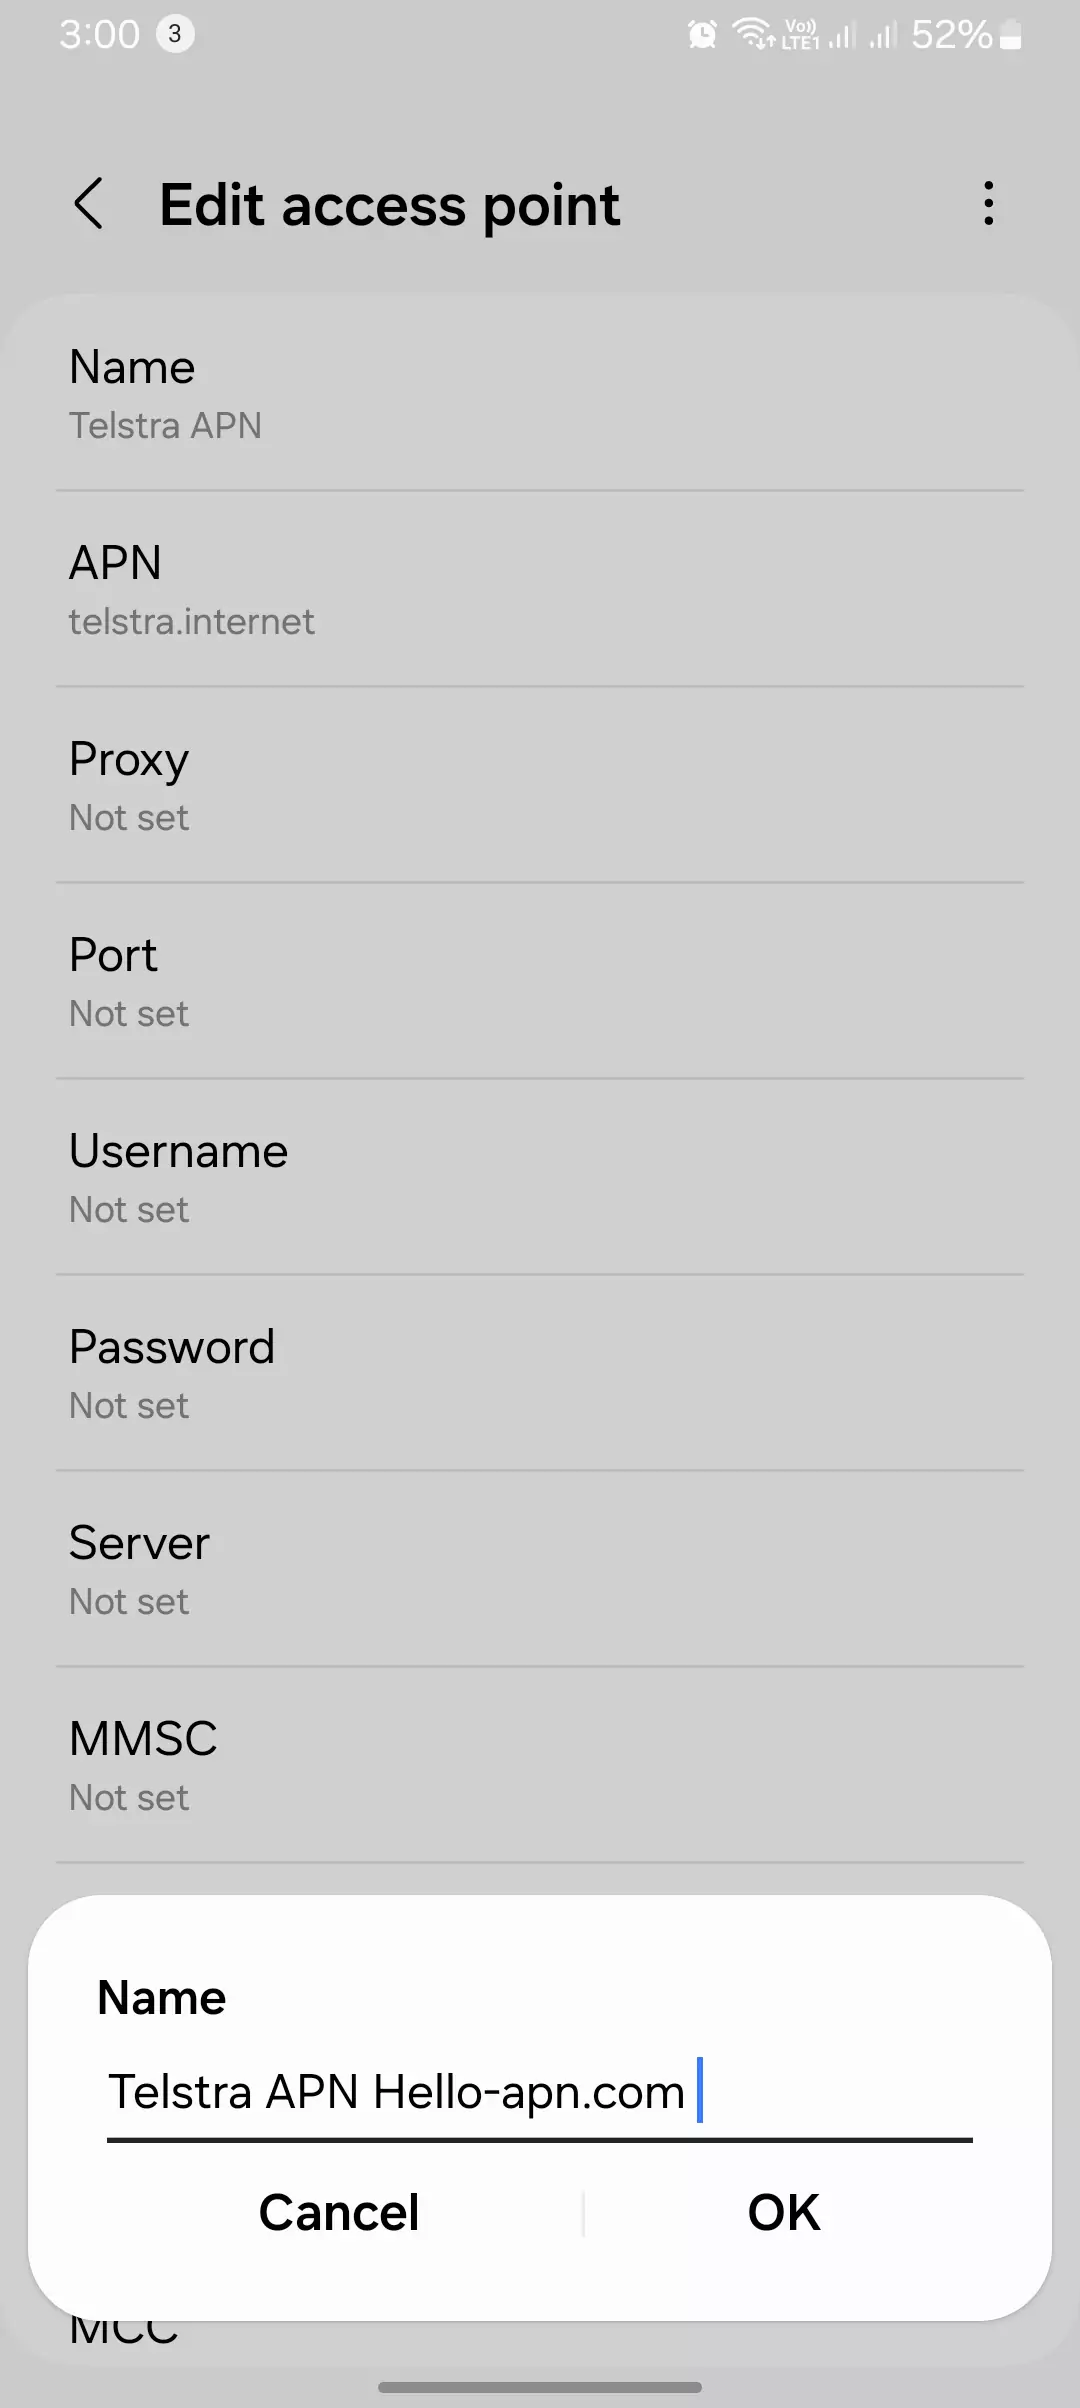
- Enter the following details:
- Name: Telstra Internet
- APN: telstra.internet
- Leave all other fields blank and save the APN.
- Select the new APN to activate it.
On iOS:
- Open Settings > Cellular > Cellular Data Options > APN Settings.
- Enter:
- APN: telstra.internet
- Leave other fields blank and save the settings.
These steps have worked perfectly for me, and I’ve used them to help several friends resolve their Telstra mobile data issues.
Restoring Default APN Configuration
If you’ve customized your APN settings and are still facing issues, resetting to the default configuration often resolves connectivity problems. Here’s how:
- Go to the APN settings menu on your device.
- Locate the Reset to Default option (often found under a menu icon or three dots).
- Confirm the reset to restore the original Telstra APN settings.
Troubleshooting Telstra Mobile Data Issues
In my experience, simply setting the APN to telstra.internet resolves most data issues. However, if problems persist, here are additional steps that have worked for me:
- Restart Your Device: This clears temporary network glitches.
- Check Network Coverage: Visit Telstra’s coverage map to ensure there are no outages in your area.
- Verify the SIM Card: Remove and gently clean the SIM card, then reinsert it.
- Update Your Device Software: Outdated firmware can cause connectivity issues.
- Reset Network Settings:
- On Android: Go to Settings > System > Reset Options > Reset Wi-Fi, Mobile & Bluetooth.
- On iOS: Go to Settings > General > Reset > Reset Network Settings.
FAQs About Telstra APN Settings
1. Can I use a custom APN for Telstra?
Yes, but only if required for specific use cases like IoT devices or VPN services. For regular internet use, telstra.internet is sufficient.
2. What happens if I enter incorrect APN settings?
Incorrect APN settings can prevent your device from connecting to mobile data. Always double-check values before saving.
3. Does changing APN settings affect call and SMS functionality?
No, APN settings only affect mobile data and MMS services.
4. How can I improve my internet speed further?
You can try additional tweaks, such as:
- Using a DNS like Google (8.8.8.8) for faster name resolution.
- Ensuring dual SIM devices have the correct SIM selected for data.
Conclusion
Setting up the correct APN settings for Telstra is straightforward and can significantly enhance your mobile data experience. From faster speeds to improved reliability, these settings have worked wonders for me and others who’ve tried them.
If you’ve applied these settings, let me know how they worked for you in the comments. If you’re still facing issues, feel free to ask questions—I’m here to help!